Step 7: Run the Spring Web App
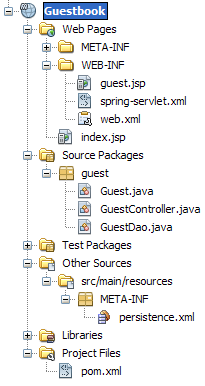
At this stage your project should have the following structure:
 Use copy and paste to replace the content of the index.jsp
 file (which serves as the default front page) with the following redirection to the controller path:
<jsp:forward page="guest.html" />
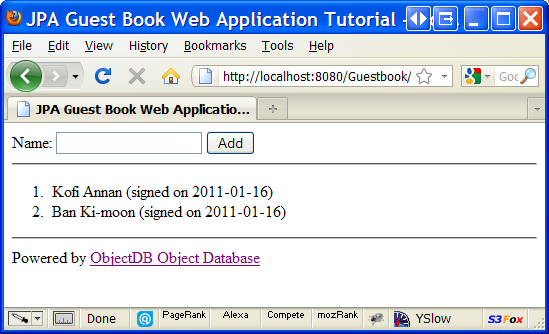
Assuming that Tomcat 6.0 is installed as a server in your NetBeans - you should be able to run your application now by selecting Run > Run Main Project from the main menu (or F6):
You can select the server in the Run category of the project properties window (right click the project node and select Properties to open it).
Alternatively you can run the web application using the embedded Maven Jetty plugin:
- Right click the project node and select Custom > Goals...
- Enter jetty:run in the Goals field and click OK.
- Open your browser at http://localhost:8080/Guestbook/.
This tutorial should also run with GlassFish 3.0.1, with a small change in the persistence.xml file - instead of RESOURCE_LOCAL you will have to specify JTA.
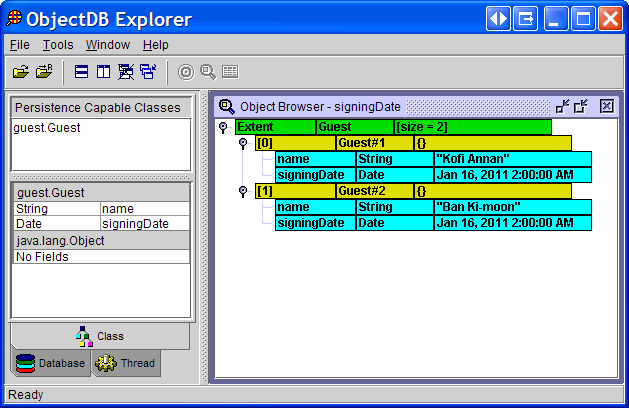
Since we are using ObjectDB in embedded mode - the database file is created under the Tomcat directory. You can stop the Tomcat server and open the database file in ObjectDB Explorer:
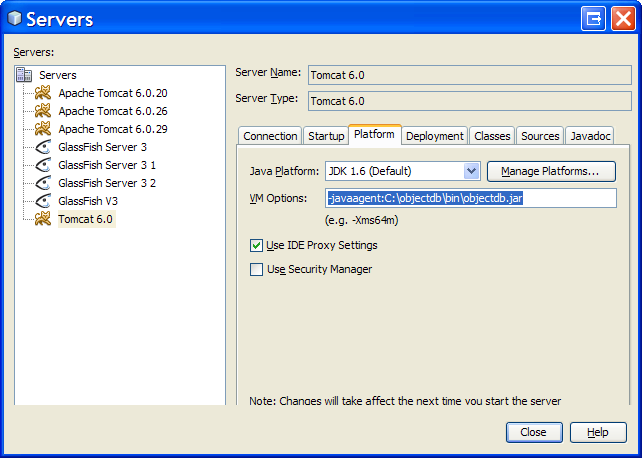
To enable on the fly enhancement (weaving) in Tomcat:
- Find the Tomcat server in the [Services window] under Servers.
- Right click the server node and select Properties.
- In the Platform tab in VM Options enter:- -javaagent:C:\objectdb\bin\objectdb.jar
(use the path toobjectdb.jaron your computer). - Click the Close button.
- Right click the server node and select Restart.
When using GlassFish - on the fly enhancement (weaving) is automatically enabled without specifying a Java agent.
This is the end of the tutorial. Learn more about ObjectDB and JPA by reading the Manual.