Step 1: Create a Java Project
We start by creating a new Java project, using:
File > New > Project...
If you are using Eclipse IDE for Java EE Developers, you can see in the [New] menu a command for creating a [JPA Project]. We are not using that type of project in this tutorial but rather an ordinary Java Project.
In the [New Project] dialog box:
- Select Java Project and click Next.
- Choose a Project Name (e.g. Tutorial) and click Next.

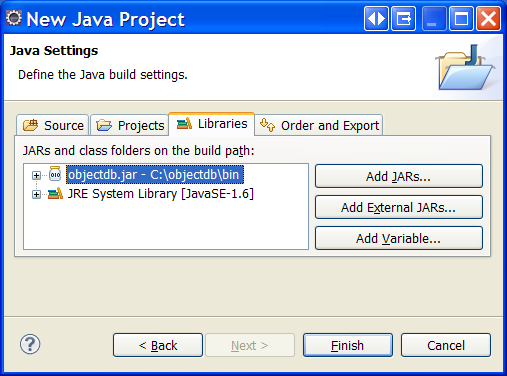
- In the Libraries tab, click Add External JARs... and select the objectdb.jar file from the bin subdirectory of the ObjectDB installation directory:

Click Finish to create the project, and Yes in the Open Associated Perspective dialog (if shown).
Now you should have a new Eclipse project with ObjectDB/JPA support.
ObjectDB/JPA can also be added to existing projects, by adding the objectdb.jar file, using:
Right Clicking on the Project > Properties >
Java Build Path > Libraries > Add External JARs...
The next step is creating a JPA Entity class.