Step 1: Create a Java Project
We start by creating a new NetBeans Project:
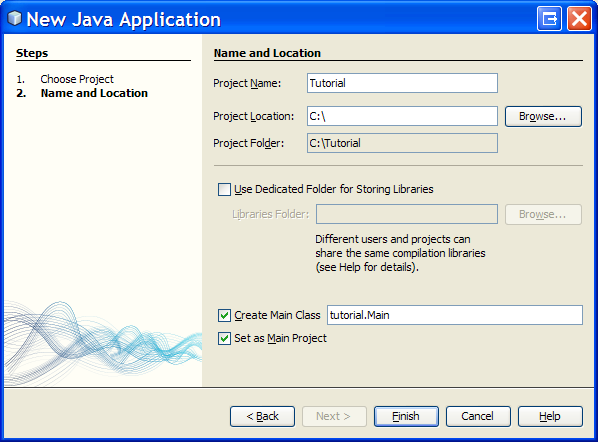
- Open the [New Project] dialog box, e.g. by using File > New Project...
- Select Java > Java Application and click Next.
- Choose a Project Name (e.g. Tutorial).
- The name of the Main class should be tutorial.Main. Verify that exactly this case sensitive fully qualified class name is set (you may use copy & paste).
- Click the Finish button to create the project.
To add ObjectDB/JPA support for the project:
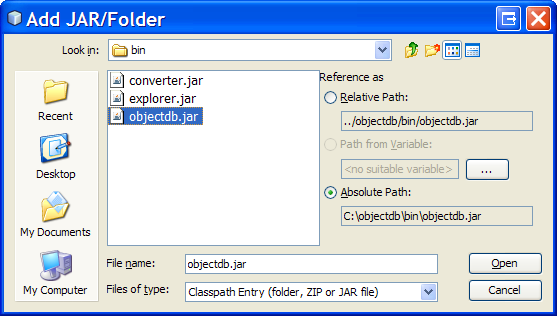
- Right click the Libraries folder in the [Projects] window and select Add Jar/Folder...
- Select the objectdb.jar file from the bin subdirectory of the ObjectDB installation directory and click Open.
 Now you should have a new NetBeans project with ObjectDB/JPA support.
The next step is creating a JPA Entity class.